If you dream to become another Rubious or Pokimane, Twitch is your #1 go-to. We’ll quickly review what you’ll need to launch a streaming career on this platform.
Step #1 — Setting up an account
It all starts with your account. Getting one is quick and easy. Still, content creators should go one extra mile here. While registering a Twitch account, you will need to:
Learn about Twitch’s rules
Guidelines and rules are a must to observe. All streamers, especially the new ones, can face the banhammer if they violate some. Even slightly. Twitch can be ridiculously strict when it comes to rules. For instance, the streamer Quqco got banned for cosplaying Chun Li, while other streamers were okay to showcase bras and other underwear.
Use two-step authentication
This is important to protect your account. It’s been voiced since 2019 that the platform has a serious problem with account hijacking. The two-factor authorization will help you prevent potential attacks, as hackers won’t be able to present something that you own, be it a fingerprint or your mobile gadget.
Step #2 — Encoder
An encoder is your everything. It’s a device or software, which captures visual data and sends it to Twitch’s servers in live mode.
Here are the most popular encoding apps used by many top streamers:
- OBS. The #1 option among the first-time streamers. It’s free and simple to master. Plus, it works on Mac and Windows. Although, no mobile OBS exists, so far.
- Wirecast. Like OBS, it’s compatible with all popular streaming platforms. It also offers RTMP-streaming, which translates to hi-def quality. It can also boast of an 8-track audio output, virtual 3D, etc. But the app is freemium — the basic version is feature-limited.
- XSplit. One of XSplit’s gimmicks is that you can use your phone as a wireless web camera. As for the rest, it’s pretty similar to OBS, and there’s a free version.
- Vmix. Apart from core encoding options, it’s capable to broadcast in HD and 4k. The app is available for Windows 10 exclusively. (But it may soon appear on Windows 11).
Apart from software, there are also hardware solutions. Their biggest benefit is that hardware encoders don’t sip the CPU of your computer. As a result, your live stream can shine in new colors and be secured from fps drops, picture freezing, audio becoming noisy, and so on. But they start at around $500-600.
Step #3 — Streaming tools
You will need this in your arsenal:
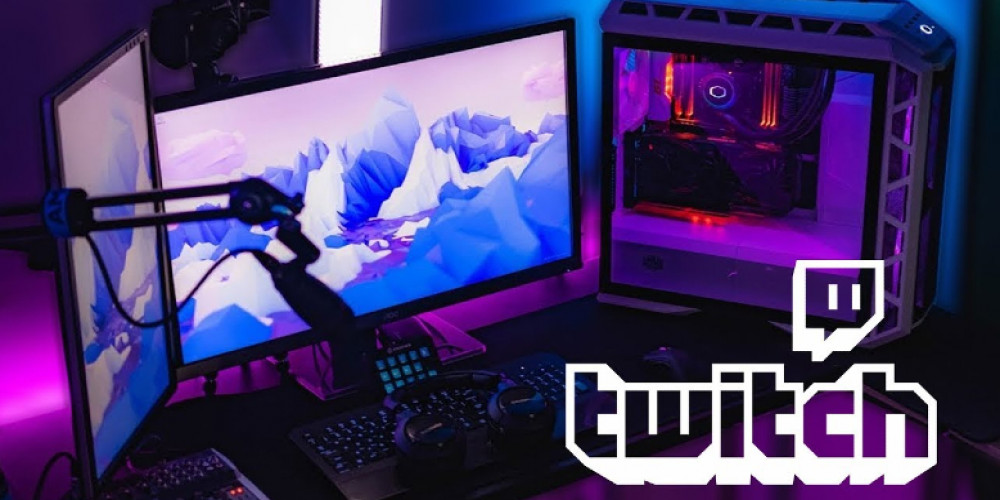
Streaming device
It can be a laptop, smart gizmo, console, or desktop. While it’s easy to start streaming with a portable device, a desktop computer is a real beast, as it can provide maximum stream quality. It has to have a CPU powerful enough to take care of gaming and encoding at the same time. AMD Ryzen 5 3600 or Intel Core i5 10400 are among the affordable options. Some video cards have native encoders, which is a fat plus. As for the OS, it’s recommended to avoid Linux — other systems are okay.
Mic
While at the start you can do with a headset, it’s recommended to get a condenser microphone that provides quality sound. There are many cheap ones, including the famous Razer Seiren Mini, which starts at around $50. Plus, you’ll need a boom stand — a mic holder, that won’t allow noises like you drumming the keyboard or touching the table, feeding into the microphone. (Check Podcastage for reviews).
Camera
Streamers, who present themselves visually, have a bigger chance to attract an audience. Hence, an HD webcam can be a great solution. It will provide a clearer picture, which always resonates well with the viewers. Options like Microsoft LifeCam HD-3000 start merely at $20.
We’ve reviewed the technical aspect of Twitch-streaming, but the heart of it all is the content and your personality. Find your niche, and package it smartly. The equipment will be just a cherry on top.
Leave a comment
Your comment is awaiting moderation. We save your draft here
0 Comments