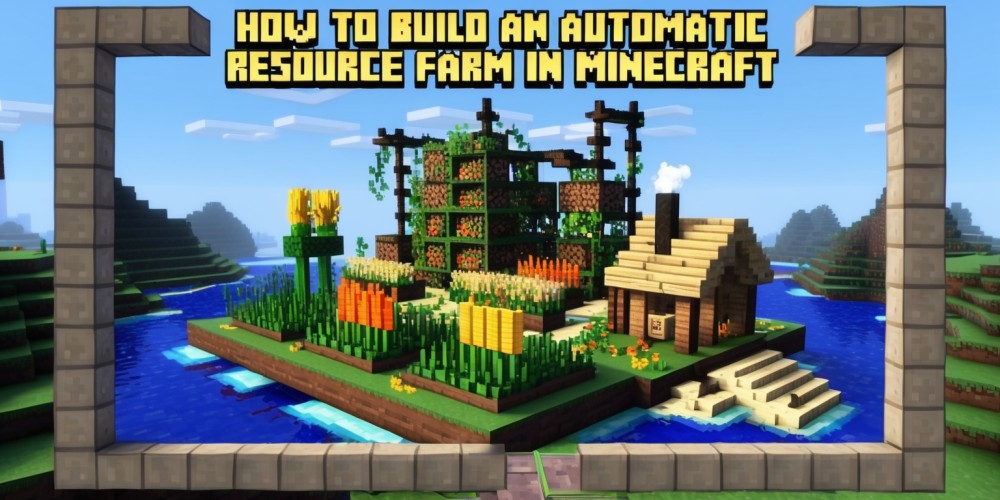
Minecraft offers endless opportunities for creativity and efficiency. Constructing an automated resource system is among the most gratifying ventures you could ever embark on. Not only does it save you time, but it also ensures you have a steady supply of essential materials like wheat, sugarcane, or iron. In this guide, we’ll walk you through the basics of setting up your own farm, so you can spend more time exploring and less time grinding.
Getting Started with Your Automatic Resource Farm
Before diving into the construction, it’s important to de
...
Minecraft offers endless opportunities for creativity and efficiency. Constructing an automated resource system is among the most gratifying ventures you could ever embark on. Not only does it save you time, but it also ensures you have a steady supply of essential materials like wheat, sugarcane, or iron. In this guide, we’ll walk you through the basics of setting up your own farm, so you can spend more time exploring and less time grinding.
Getting Started with Your Automatic Resource Farm
Before diving into the construction, it’s important to decide what kind of resource you want to farm. Depending on this choice, the design and materials needed may differ. Common resources like wheat, sugarcane, and even mobs like iron golems can be automated.
Step 1: Gather Necessary Materials
- Redstone: Essential for powering the automation mechanisms.
- Hoppers: Used for collecting and transporting items.
- Water Buckets: Necessary for hydrating crops or moving items.
- Pistons and Sticky Pistons: Move and harvest crops.
- Observers: Detect changes and send signals to activate other components.
- Building Blocks: Such as wood, cobblestone, or any material you prefer.
Step 2: Construct the Farm Layout
Plan out where everything will go. For a crop farm, ensure you have a hydrated farmland area. You’ll need a series of pistons to push the crops once they’re fully grown. Place water streams to direct harvested items towards hoppers which will collect them.
Step 3: Set Up Redstone Mechanisms
Redstone is the heart of any automatic farm. Place observers to detect when crops have reached full growth, which will send a redstone signal to the pistons to harvest them. Connect this redstone line to all pistons for synchronized harvesting.
Step 4: Create a Collection System
Attach hoppers below or beside your farm to collect harvested items. These should lead into a chest or a series of chests where you can easily gather your resources. Consider using minecart hoppers if your farm layout is more expansive.
Step 5: Testing and Troubleshooting
Before relying on your farm, run several tests to ensure everything works smoothly. Check all redstone connections, ensure water flows correctly, and that items are properly collected. Adjust any components if necessary for optimal performance.
Enhancements and Final Touches
Once your basic farm is operational, you can add features like automated bone meal dispensers to speed up crop growth if playing in creative mode or have access to sufficient supplies. You could also expand the farm’s capacity or add decorative elements to make it aesthetically pleasing.
Conclusion and Helpful Tips
Congratulations! You’ve built your first automatic resource farm in Minecraft. This setup not only elevates your gameplay but also provides a solid understanding of Minecraft’s mechanics like redstone operations and automation processes.
Here are a few additional tips:
- Experiment with different designs to see what works best for your needs.
- Keep an eye on updates as game mechanics might change, offering new ways to streamline your farm.
- Consider incorporating other resources, such as mob drops, into your farm network for even greater efficiency.
Now it’s time to enjoy your newfound free time in Minecraft, thanks to your efficient automated farm!

Leave a comment
Your comment is awaiting moderation. We save your draft here
0 Comments